Saturday, February 4, 2012

Day 13 - Cleaning the engine compartment.

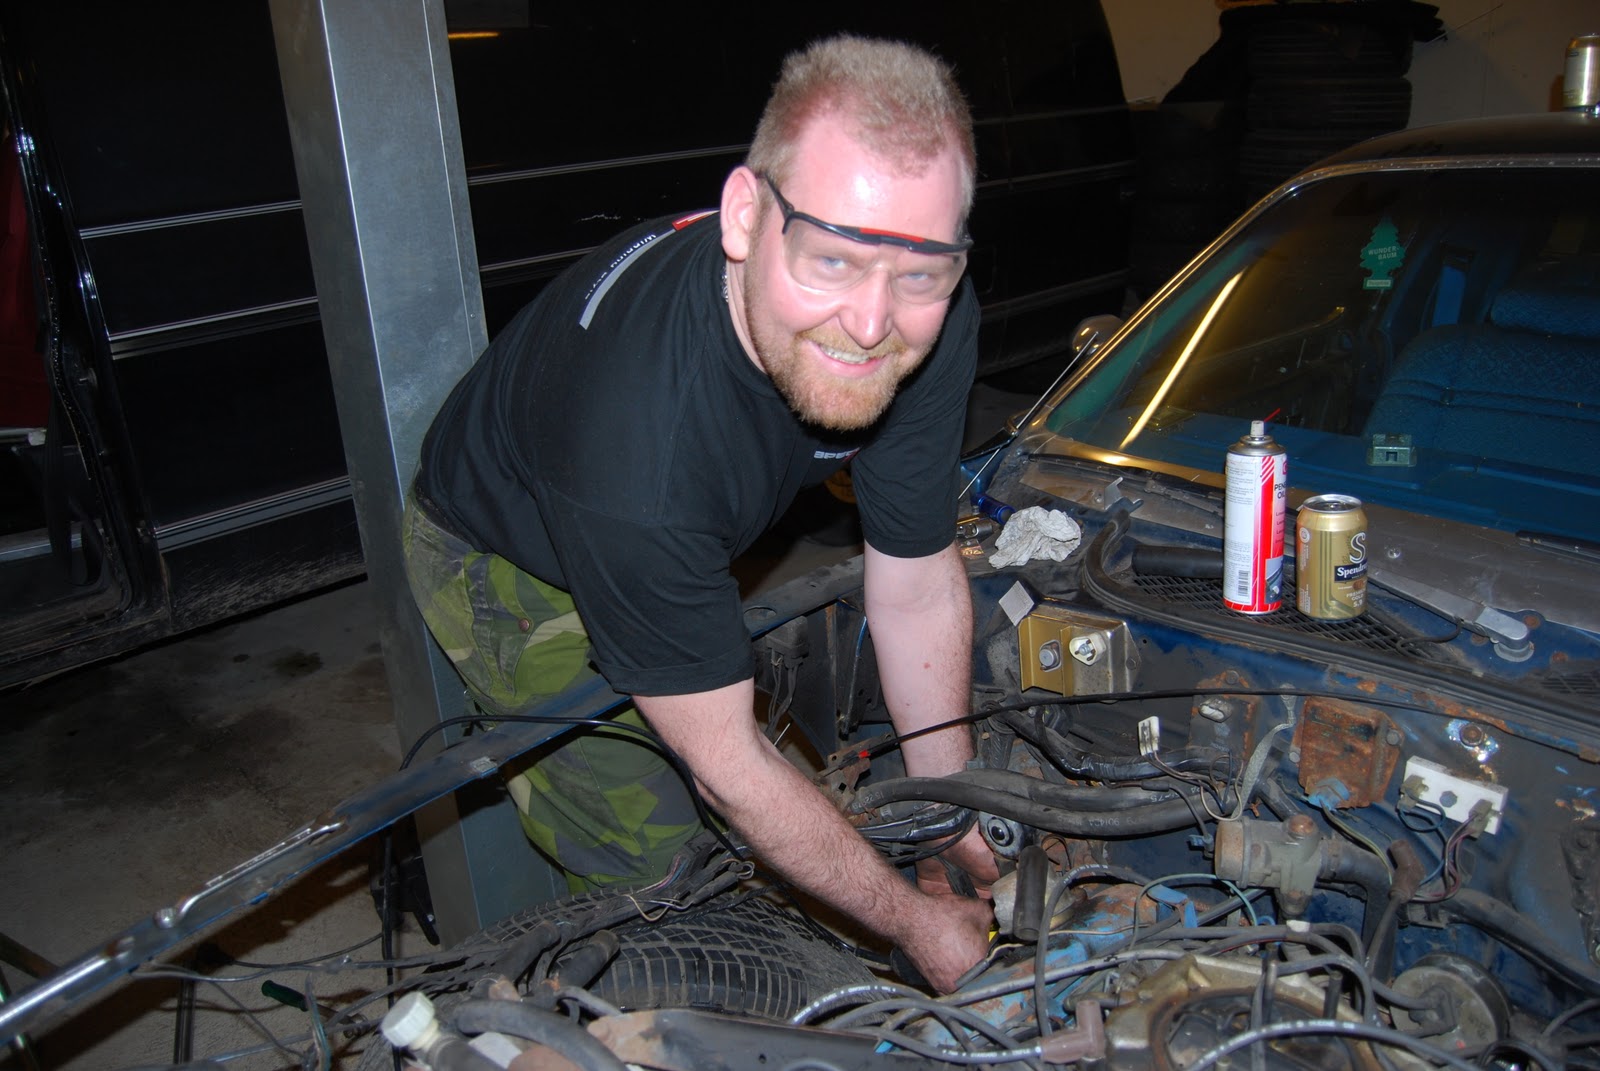
So, engine might be removed but I still need to keep a good pace on the project to get it completed as soon as possible. ;) I went out for an hour today and started removing some components from the engine compartment. I think this stuff wont find its way back to my vehicle, I should do without because of the new components I am planning to add to the engine. Also, before 1976 in Sweden emissions wasn't that controlled, therefore I can remove the EGR system. My mindset is pretty much to eliminate as many sources of failure as possible.

This is the electronic ignition controller. Two bolts secure it.

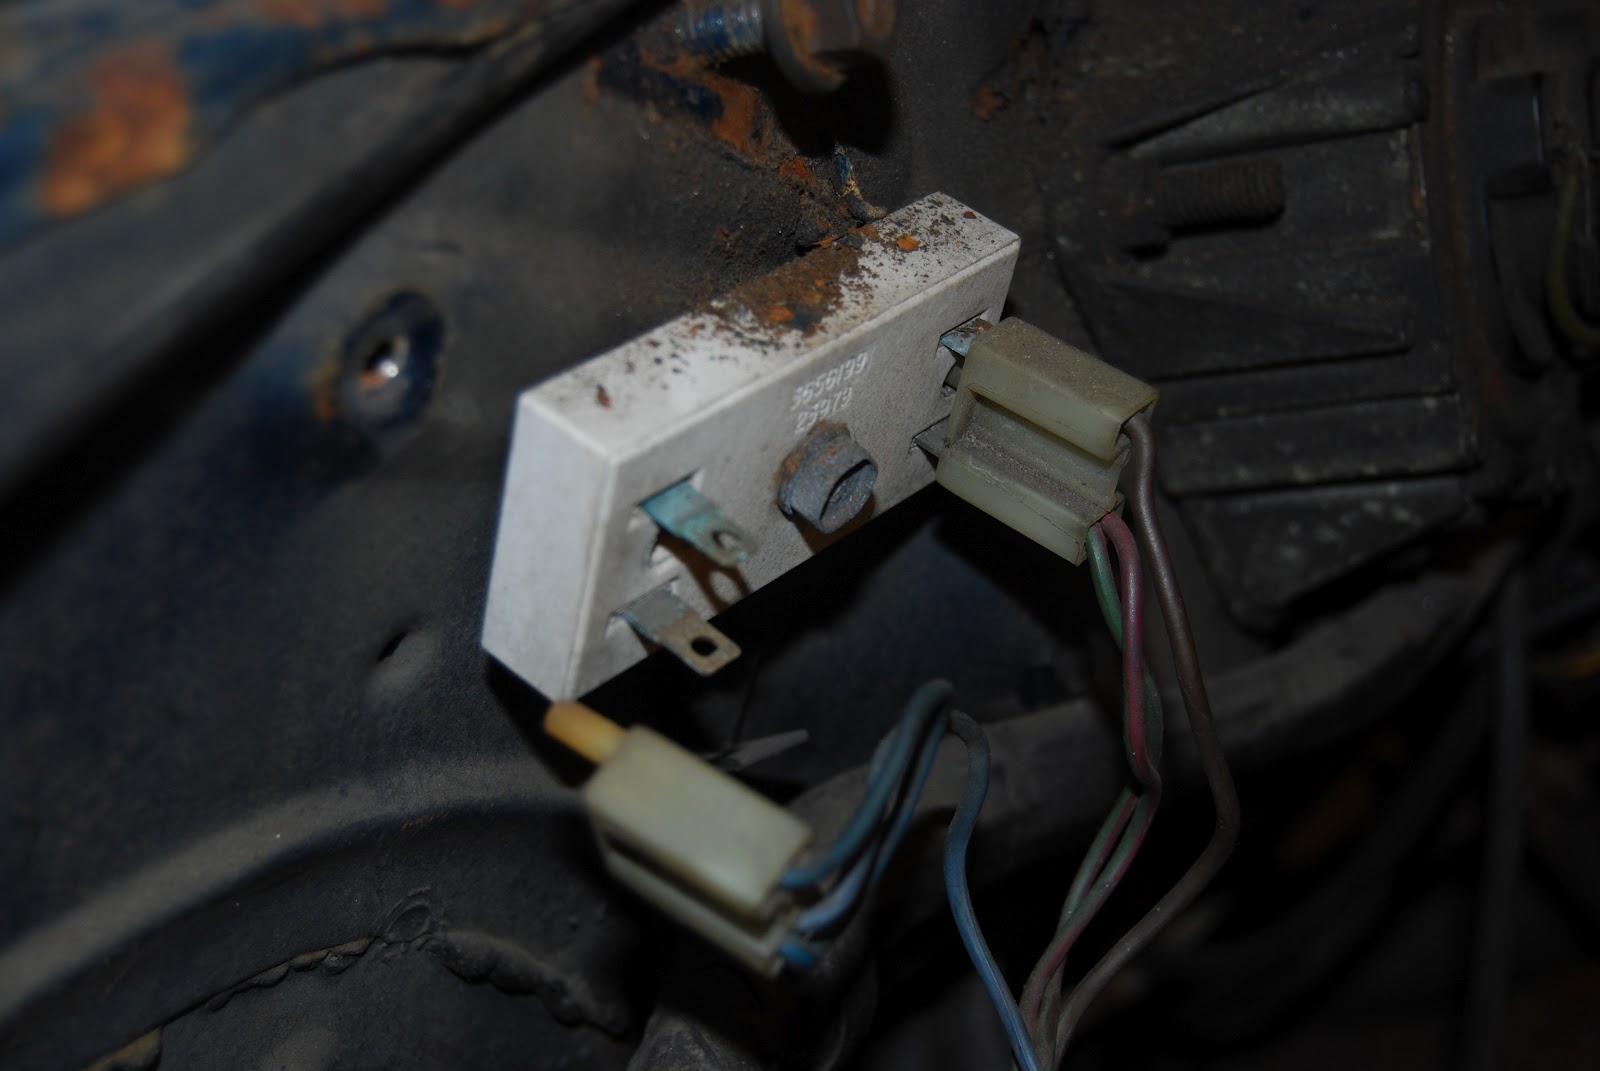
The voltage regulator(2 bolts) and ballast resistor(1 bolt).

Close up of ballast resistor and cables.

Removing fuel pump by pulling the hoses.

Time to move on to the electric cables. Removed all clips attaching
it to the cowl in order to pull it out.

Somehow this does not look original, attached to the cowl just
above the power brake booster... Two bolts.

Removed the charcoal canister, 2 bolts on each side.

Cables starting to come out...

Nice and clean. A few hours more will help me get rid of all
components from engine compartment to make it ready for
some welding, sandblasting and paint.

Bagged and tagged, voltage regulator, EGR time delay controller,
electronic ignition controller and ballast resistor.

That's all for today friends. I'll see if I can get out tomorrow and continue the project.
Admit I am getting there! :)

Wednesday, February 1, 2012

Comment on engine removal.

I recieved a comment I thought I should share with you guys. :) Please keep in mind I am open to any suggestions on below information.


Hi and thank you so much for your comment! This is the first car I ever owned and the first car I ever restored, so I'm really new to this stuff. :)

Regarding the radiator, what will be the gains of a three row radiator? Better cooling? I am going to rebuild the engine and my plan as of now(I am open to suggestions) is to have the engine block and heads inspected at an engine shop to determine the condition.

If the heads are reusable with little restoration work from the engine shop I will keep them and add these components to my engine:

* Edelbrock 1406 Performer Carburetor(600 CFM)
* Edelbrock 2186 Performer Intake Manifold
* Edelbrock 2192 Performer-Plus Cam and Lifter Kits
* Edelbrock 1723 Performer RPM Street Fuel Pumps
* Hooker 5903-1HKR Hooker Competition Headers
* Summit Racing SUM-380459 Direct Fit Aluminum Radiators

As well as a following large list of oil pump, harmonic damper, water pump, timing chain set, timing cover, alternator, etc. I believe above list will be suited for the original heads. The cam also looks really interesting in combination with intake and headers, check this graph, for a 383 Chrysler engine:

Surely this would add to my 400 High Performance engine as well?


If however, the engine shop determines there is extensive work needed to the heads I will probably buy Edelbrock 60929 Performer RPM cylinder heads. In which case I will change the above Performer list to Performer RPM stuff.

My intentions with the Cordoba is to keep the appearance original, reuse as much as possible, but equip with a little stronger gear to get additional torque and HP. The reason for this is I want to sustain driveability as far as possible.

Regarding the A/C. It has never worked during the time I've owned it. I have never missed it and it only adds to the weight of the car. Why do you think I should keep it? Thank you in advance.

Monday, January 30, 2012

Success on engine removal! Day 10, 11 and 12!

Just spending a few effective hours of work in the garage for one weekend proved to be enough to remove the badass 1975 400 CUI high performance engine! Below are photos describing the work. We had to keep the pace up so I admit I didn't really photograph every single bolt, but I still managed to get a lot of pictures.

We started off by removing the hoses to the radiator. They were
really hard to remove but they should be replaced anyway while
overhauling the engine so we cut them off. The two transmission
cooling lines had been removed by previous owner, and
instead hoses had been used which is not recommended, but
easily removed. Be sure to keep separate fluid containers for
the coolant and transmission oil.

This is Jocke. He drives a '71 Chevelle. I have tried hard to convince
him to go mopar(GM), but he just doesn't get it - yet. ;)
Radiator removed, fitted with four bolts.

Equally, the fan shroud was fitted with four bolts.

As for the fan...

We moved on with the master brake cylinder, attached with
four nuts. We reassembled the nuts afterwards not to lose them.

These are the original exhaust manifolds made of cast iron.
Changing these for hooker competition headers will provide
a nice flow and primarily a nicer sound to the vehicle. The exhaust
manifolds are fitted with three quite large studs which are threaded
on both ends. It doesn't matter which side unbolts first, but if
the inner one does, coolant from the block will come out of the
hole. It really surprised us at first! :) Except for the studs there are two
smaller bolts on the right, one of them is fitted with a wrench socket
on the picture, and the other one is just to the left of it. Finally there
is a small bolt fitting the EGR system to the exhaust in the back.


The bolt for the EGR was really stuck. Here's me giving a shot at it...

...and here's Jocke. Enthusiastic enough. ;)

Well, we had to cut it off, it wouldn't budge!
Removing the cables/wires/hoses to the speed control system.

Removing the clips attaching the throttle and kick down linkage.

And our girlfriends picked us up since we had a couple of beers
this wonderful Friday evening. :) On the left, my girlfriend Sarah,
in the middle Jockes girlfriend Rebecca and to the right Jocke himself.

This is the pile of stuff we'd removed so far.

Saturday. We started by removing the EGR bolt from the exhaust
manifold with a smaller tool with a compressor instead of a
built-in electrical engine...

Then we removed the fitting for the exhaust pipes. This
"bracket" is slided on all the way up to the exhaust manifold
where it's attached with two bolts.

And this is what it looks like on the exhaust manifold side, only
one bolt hole is visible but the other is on the left side in the shadows.

I believe the pipe coming out of the exhaust manifold port is from
the EGR system, blowing air into the exhaust using the air pump.

They look nice and tidy but damn were they heavy?

Pickaboo!

Remember the wheel house was stuck on the drivers side?
Well, we cut it loose. As visible it was a bit rusted out and will
need some welding to get nice again.

Clearance! Thank you lord!

This is from within the fender, I don't know if you can tell, but the
drivers side fender is welded to the rocker panel, probably because
the drivers side had some bad rust here and there. Still it's a really bad
solution from the old owner and prevented me from removing the fender easily!

In the middle of the picture is one of the engine mounts. There
are two ways to remove this. Either by one really large bolt close
to the frame, or by the three smaller attaching the block to the
engine mounts, this is one of those three.

Here is the other...

Gotta love them big US cars. It's not every day you can actually
perform the work from INSIDE the engine compartment. ;)

Whoops. This might not be recommended, but it's quite effective
on bolts that won't come off by hand. ;)

The fuel pump, attached to the engine block with two bolts. These
are hard to reach, but the pump is just in front of one of the engine
mount bolts, and needs to be removed to reach that bolt.

Pile keeps getting bigger...

Gaskets from exhaust manifolds look pretty worn out... :)

In the middle you can see the power steering pump and reservoir
removed. I think it was fitted with three bolts into it's bracket and
that the fluid line was fitted to the pump with one bolt.

Tried to get a shot of the transmission bellhousing, but it was hard.
Along the edge of the bellhousing there are 6 bolts that needs to
be removed in order to separate the engine from the transmission.

Below the transmission there is a plate covering the flexplate
and torque converter. It's fitted with four bolts. Just above it to
the right is a bolt connecting the starter to the engine block,
once removed, starter will actually stay fitted to the transmission.

The starter bolt removed.

It's a good idea to protect the transmission pan with a piece
of wood. We had none, except for this broken brush. ;)

Jocke attaching the engine hoist. I'm gonna post a few pictures
so that you can see how we attached it.


Still happy after a hard weekends worth of work.
Thank you so much for all the help Jocke!!


The engine starts to come out!!

While slowly and carefully taking the engine higher we made sure
no electrical cables were still attaching the engine to anything.

What a beast!

Kind of a funny picture, looks like we used no engine hoist.
Swedish vikings do without!

Quite an impressive sight!

Oily, rusty, but seems to be in savable shape.


The flex plate. Before dettaching this from the torque converter
we marked one of the "wings" with a sharpy and did the same on
the torque converter side, to be able to put it back just as it was.

Then our girlfriends joined us with a couple of hamburgers after
a hard days work... We really needed that!

Me, my girlfriend and Rebecca...

Hamburger!

Sarah, a godess amongst women!

The boys handling the tough stuff!

Once again, swedish viking lifts the engine without hoist. True story.

Carefully lowered the engine to the ground.

During the next few weeks I will have a nice few hours of cleaning
the engine compartment from every little piece. :)

I'll remove the A/C condenser. The whole system for that matter.
Come on, how often do you drive a Cordoba with the windows closed?

Quite some cables, and alot of vacuum crap!

Pile near the end of the day. :)

Project status: A success, but still a lot to do! :)