Friday, January 27, 2012

Day 8 and 9 - Hood, fender and new stuff!

It's been a troublesome week. A lot to do to prepare for removing the engine, and a lot of problems in the project. These are the pictures from day 8 and 9. In just an hour or so my friend Joacim will join me in the garage for the entire weekend. I sincerely hope we will have the time to remove the engine! Pictures, starting with the hood:

The hood was secured by two nuts on each side. Please notice
I placed a thick cloth behind the hood protecting the window and
upper cowl. However, since the hood is retained with nuts it won't
slide when nuts are removed.

The hood leaning against a wall. You really need to
be two persons to remove this. Heavy and big!

Getting there... slowly, but surely!

In order to remove fender, the ugly antenna needs to
be removed. It has a similar contraption as the rear view
mirror wires, drive it around using a screwdriver. I think
there is supposed to be a plastic cover on top of this,
missing on my vehicle.

These are the parts that attach the antenna. From left to right,
bottom to top above fender.

My oldest brother helping me to remove the fender bolts.
The fenders are attached with 5 bolts and 2 nuts(same nuts
that secure the hood to the cowl). These are easily removed
along the ledge of the fender.

Then it's secured in the front bottom with one screw...

...and two on the bottom back of it. On to the tricky part.

There are three nuts securing the fender to the headlamp
panel. These are reached from within the fender and can
be quite tricky to reach. Two are on the top and one on the
bottom. You can barely see them between fender and panel
on this picture. In the best of worlds, the nuts will come of easily,
enabling the removal. However, they were stuck on my car so
I actually had to cut one of them loose.

If wheel house and all above mentioned bolts have been removed,
this is the result. This will truly help us on removing the engine!

Wheel house and fender dettached. The fender looks good,
I do not think any welding will be necessary!

On to the drivers side wheel house. It has some brackets attached
to it. The biggest one is the speed control system bracket...

...attached with three nuts from within the wheelhouse.

Another bracket to remove, just secured by one nut from within
the wheel house. After this I started getting some problems. I
figured I would just have to repeat the process from the passenger
side. And surely, that would have worked, however. Three bolts
in the wheel house were really stuck because of extensive rust
and general condition of wheel house on drivers side was much
worse than passenger side. So I figured I'd remove the fender first,
which is entirely possible, and then cut off the bolts. However,
it turns out previous owner in Canada had actually welded the
lower part of the fender to the rocker panel(!). Disabling me from
removing it before this weekend, it needs to be cut loose.

I went to a great hardware/car tool shop and spent more than
800 USD on new tools. This is like christmas. :)

This is what I got, after assembly. :)

So this is what me and Joacim have to work with. Please send
us positive thoughts on our progress removing this and I will
update as soon as I can again. :)

Sunday, January 22, 2012

Day 7 - A little bit behind schedule...

So, I thought I got rid of the cold, spent one day in the garage and woke up on Saturday with the cold being as bad again. So I had to stay home the entire Saturday and only got a few hours today. This means I didn't really get everything done according to schedule, but I still have a couple of days to go so it should be allright. This is what I've managed to do during the weekend.

Started off by removing the "rubber like protection" whatever these
are called, lol. :) from the wheelhouse. They are only attached with
clips so they are quite easy to remove.

Rubber like protection thingy removed. :)

Close-up of clips...

It gives a nice clearance from the wheelhouse.

Before dropping the wheel house, be sure to disassemble
anything connected to it. There are a bunch of cable holders
and some nuts to secure several things on it. All are quite visible
except for the one on the picture above. It's right next to the coolant
reserve tank and my wrench is attached to it.

Remove all bolts from within the wheel house, they are all
around and in quite vast numbers. They all look the same
except for the two in the rear of the wheel house that are
a bit bigger. I had some rust in the wheel house but it was
a lot less terrifying than I thought. :)

Carefully lower the wheel house. Normally wheel should be removed
before performing this, but I kind of went for a better-safe-than-sorry
mindset since I was alone in the garage under this heavy weight champion car. :)

Edit: Just to clarify, ofcourse I removed the wheel
afterwards in order to remove wheel house.

Passenger side wheel house removed.

This is what I call good clearance! A lot of rust, but most of it
looks like it hasn't gotten it's way through the steel, so I should
be able to handle it quite easily.

And Jocke, I know you read my blog. Hypothetically, would you
rather remove the spark plugs from this angle, or go through our
last session again? ;)

On to the drivers side wheel house. It has more things attached
to it than the passenger side. Mainly the windshield washer fluid
reservoir and the speed control system bracket. Washer fluid reservoir
is attached with three bolts. Two on the top as visible on above picture...

...and one on the bottom as visible on this picture.

After I removed the windshield washer fluid reservoir I also
removed the rubber thingy without a name on the drivers side. :)

It's a bit smaller on the drivers side, providing less clearance.

Tomorrow, my other brother(not the one from last post) will join me to assist on some heavy lifting. Plan is to remove hood and fenders. I really hope we can get it done tomorrow, it would feel great!

Thursday, January 19, 2012

Day 6 - The bumper comes off

My cold only got worse so I had to spend a week out of the garage to really get well. Now I feel better and with just a little over one week before my very good friend joins me to get the engine off I have a lot to do!

Todays main project - removing the bumper.

Before removing the bumper it's a good idea to remove
the lower shield extension. That's kind of a rubber material
extending between the bumper and the lower shield.
It's visible on the picture above and only fitted with seven
plastic snap-in bolts. Remove these to begin with.

Afterwards, look at the bumper from behind. This is where
the bumper is attached to the impact energy absorber. Removing
two nuts; one below and one above on both passenger and drivers
side will dettach the whole bumper as an assembly.

My brother joined me to help out since I figured the bumper might
be heavy. He's behind the camera so I'm on the floor on this pic!
Note that we placed jackstands and a floor jack beneath the
bumper to help us with the weight.

This is what the bumper attachment looks like when
bumper has been removed, it's attached to the impact
energy absorber.

And finally Cordoba without bumpers, kind of takes away a lot
of the beauty, eh?

A close up showing what it looks like without bumper. This pic
will also give you an idea on where to find the attachment for it.

Removed bumper. This can be disassembled to several smaller
pieces and I will do that eventually, just had to get it
out of the way for now.

My brother uses his artistic side to photograph me and my mirror
image in the side of the Cordoba. :) Removing front fender trims.
These are attached with 7 screws, my brother said it's a good
idea to leave one of the top screws for last, and it made things easier!

I was certain I would find a lot of rust under and that a thourough
welding work was needed but it actually looked good behind the trims.

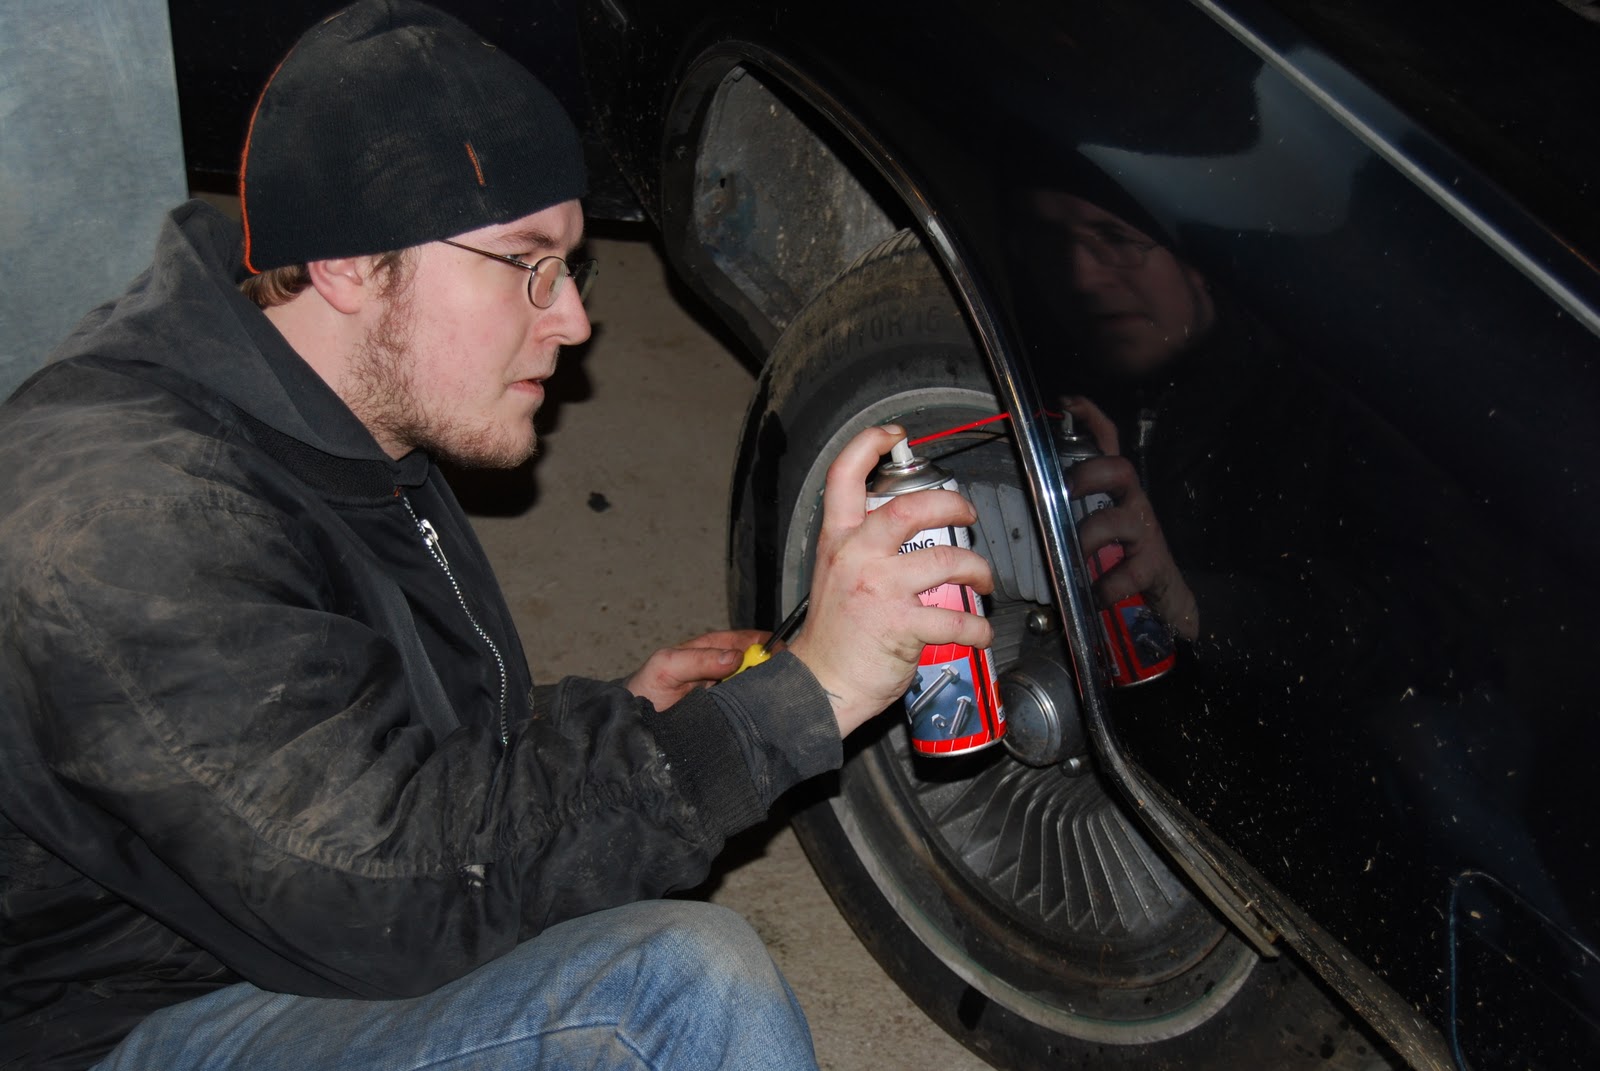
Me using gods gift to human: CRC 5-56!
 That's about all for today. I will spend the entire weekend in the garage so you'd better check back soon for an update. I'm going to remove the gill panel, wheel houses and fenders. Hopefully all that will be gone by sunday night! Oh, and also I need to thank my brother for assisting on the work today!

Thursday, January 12, 2012

Day 5 - Removing vinyl top

Sorry guys for not uploading these after I got home from the garage two days ago, I've been busy and the cold is killing me. Turns out removing the vinyl took a little more time than I expected, I took it really easy since I don't want to ruin anything related to this.

Vinyl top. Looks really rough and has been sitting there
for 37 years so it needs to be remade.

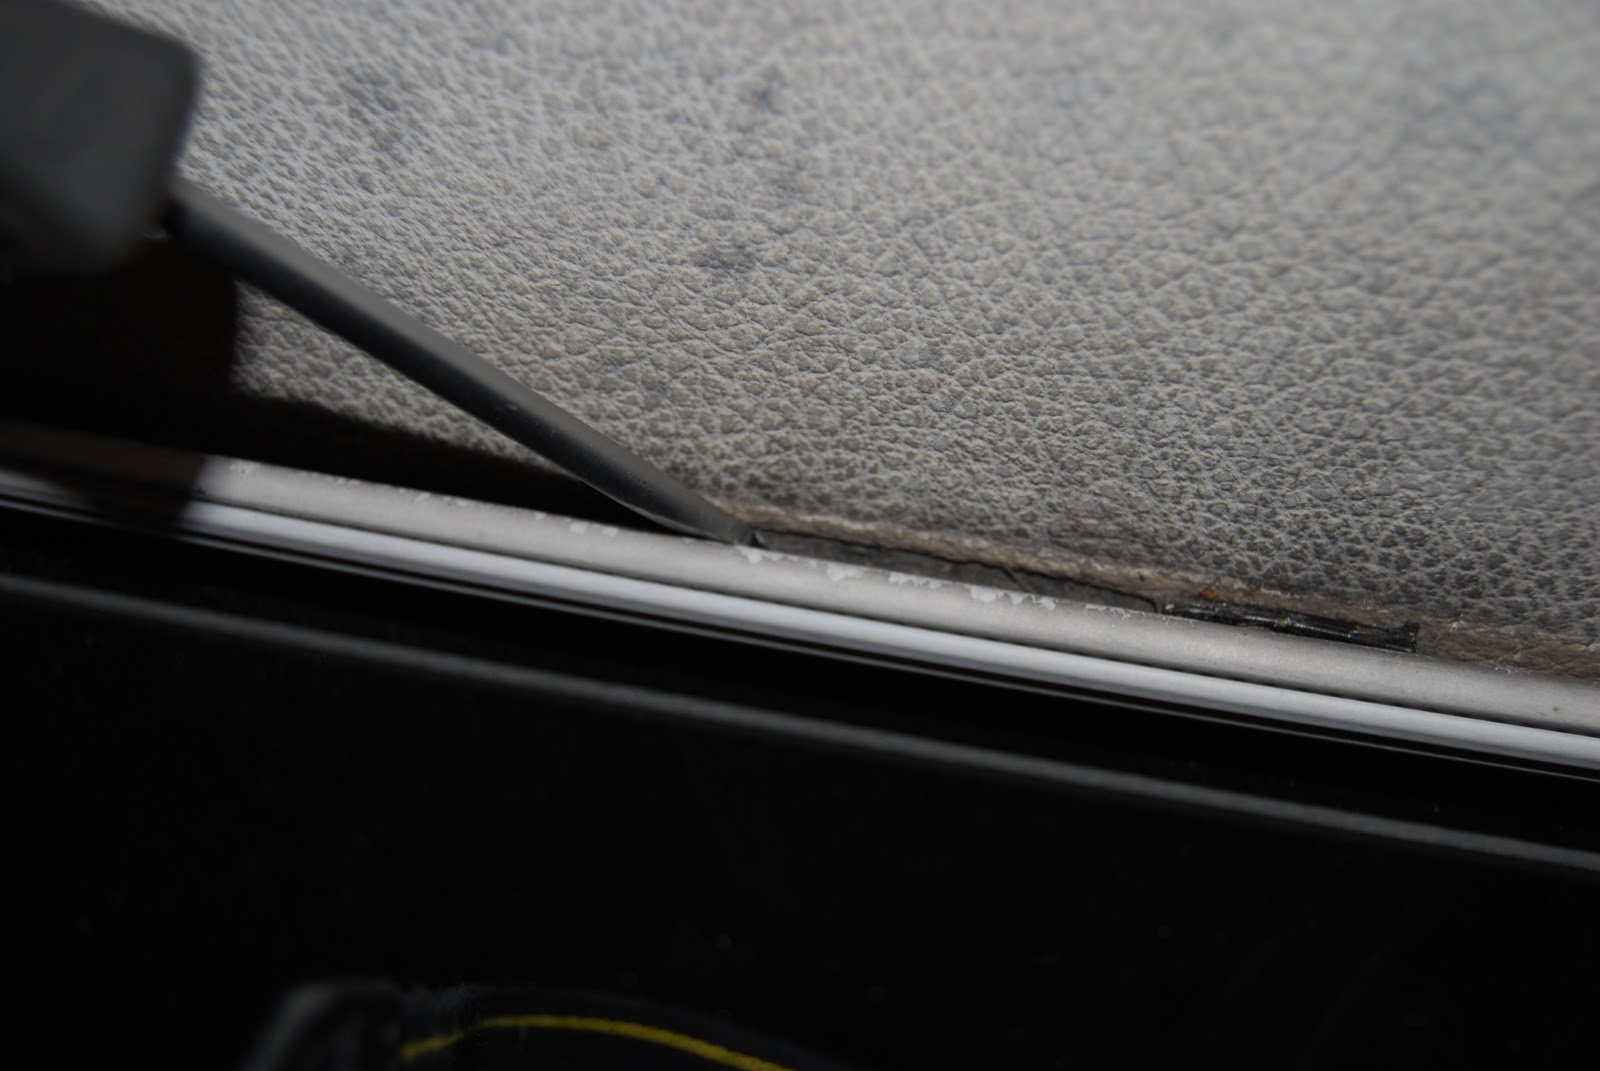
I started by gently bending the mouldings out with a screwdriver.
I believe it's important to just bend a little bit and then move along
around the mouldings to easen them all the way around.

My first screw-up. I figured removing one of the moulding corners
would probably be the best way to start, turns out it was fitted with
a bolt that could be removed from inside the luggage compartment
and as visible on above picture I actually broke it. I do think this
can be fixed quite easily though.

Close-up of the screw-up. :)

When corner piece was gone, removing longer pieces were
easier, they are all fitted in with clips and can just be snapped off.
The mouldings seems to be made out of steel so be careful not
to bend them to much or they'll get distorted.

I found some pieces of moulding were easier removed by just
sliding them off the clips. Above I'm using a screwdriver to
slide off the entire bottom moulding closest to the trunk.

Rear window bottom moulding removed from clips.

Close-up of the clips. I think I might get some better shots
of these so that I can better explain how they work for you guys.

All the mouldings were fitted with clips and the only divergence
was the corner pieces. The two closest to the trunk are removed
from within the trunk and the ones on pic above(just in front of
Opera  Windows) are removed with a screwdriver.
There is one screw on each side.

Entire roof moulding removed.

This was kind of scary. I wasn't sure at all the same procedure
would apply for the window mouldings, but after VERY carefully
bending around the sides of it, I could see it would work.

After removing the window moulding it's visible
that some kind of weather sealer has been behind
but is seriously damaged from age and removal
of moulding. I would really appreciate tips on what I
can replace this with... Silicone?

The back side of the window moulding. As seen there are seven
"wings" around the edges that keep it in place. I haven't fully
understood how to replace this. Maybe the wings are bent in
place by pressing the moulding back on, or maybe they need
to be bent from the inside of the car. Anyone knows?

Removing the rear window moulding was probably the scariest
part. I did NOT want to damage the window, but the earlier approach
worked fine here as well. Trickiest part was to get one piece off
and required quite a bit of force, but once one was gone it was
easier removing the other ones.

Yet again fitted with clips and easiest removed by sliding off instead
of snapping off.

All vinyl top mouldings removed and labeled for reassembly.

Evidently it was time to remove these. Several years of nature
hid behind most of the mouldings. :)

As a side track. I was confused as to how the window mouldings
should be removed and I first thought they might be secured from
the inside of the car. So just in case I actually started by removing
the trim around the window from inside the vehicle.

It was fitted with screws and I think the below part has some kind
of clip in the middle because I haven't been able to remove it
fully just jet.

These are the screws for the rear window interior trim:
5 on the top, 2 on each sides and 2 on the bottom.

The top part of the rear window interior trim removed.


At the end of the day I had removed all of the mouldings, but I left the vinyl on. The reason is I need to check with the company that's going to redo these for me if they need it intact to get all the measurements. I tried carefully removing one corner of it but noticed it cracked very easily so I'm not sure I can remove it as one piece.

In two weeks a very good friend is visiting over the weekend and we are actually thinking we might use that time to remove the engine from the car. So I will spend the next two weeks removing anything obstructing the work(hood, fenders, front, bumpers, etc). Stay tuned for the next post! :)

Tuesday, January 10, 2012

Going to the garage tonight...

Tonight I'm going to spend a few hours in the garage. I intend to remove the vinyl top. I carefully bent the mouldings yesterday and I think I figured out how they are attached so I'm going to go for it. I am pretty certain I'm going to find some bad rust underneath so I'm not really looking forward to doing it.

But my intentions are clear with this project, I need to pull it apart and give it the best work I can. So even though removing the vinyl top feels kind of like "point of no return", I am commited to this. Check back later today for an update with pictures.