
 |
| The oil pump housing was still in place. A couple of firm strikes with a rubber head mallet, and it gave in... |
 |
| ...this is what the inside looks like. |
 |
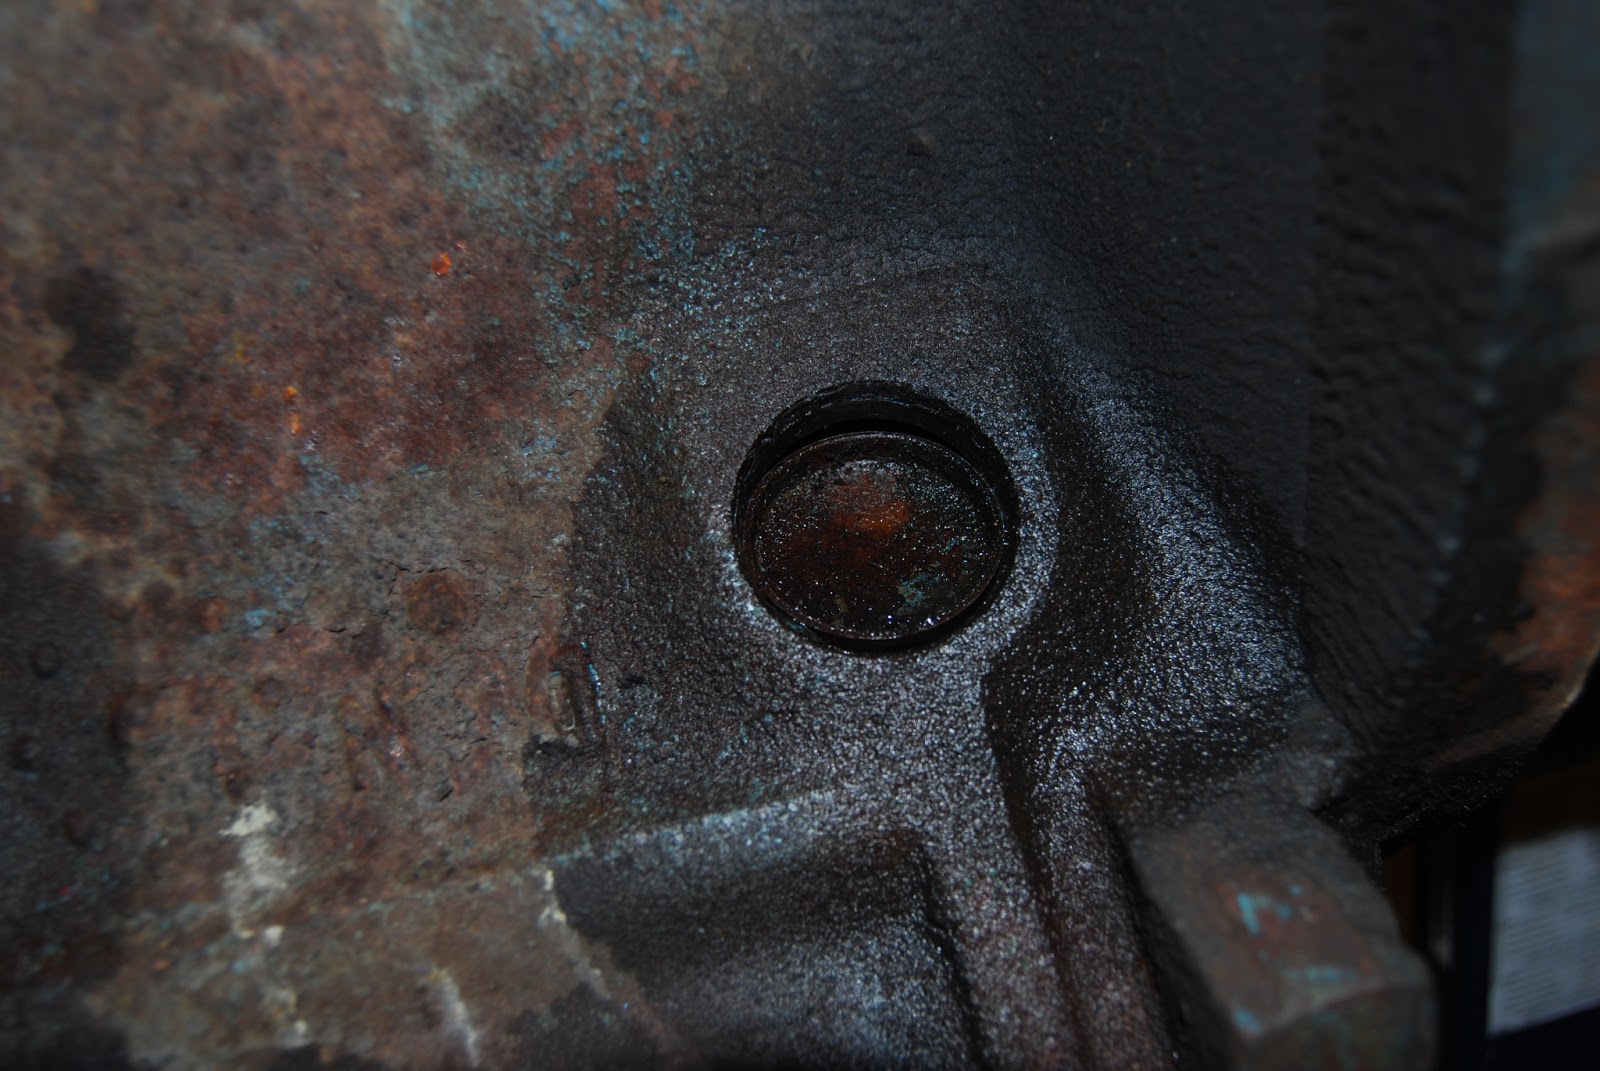
| I had forgotten to remove the fuel pump push rod. This little thingy pushes on the fuel pump to make it pump the fuel. First remove the allen head plug visible in the ring. Then just slide the pushrod(arrow) out. |
 |
| The block has three freeze plugs on each side. I used a large punch tool together with a hammer and hit one side of the plug. This would twist it enough to get a hold of it with pliers. Be very careful not to punch the entire plug into the block. I was very near on the last one, but managed to save the situation. It would be very trick, if not impossible to get it out once fully inside. |
 |
| Pliers did the trick... |
 |
| Two of the freeze plugs had been replaced with block heaters. Carefully unscrew the center screw, but be careful not to unscrew it too far. The inside has a locking mechanism and you don't want that in your block either. |
 |
| This is what it looks like removed. As you can tell by the picture once the screw is out far enough, you can just wiggle the locking mechanism past the block. If you unscrew to much, it will fall into the block. |
 |
| All freeze plugs removed. Also notice the main bearings that hold the crankshaft is still in place. Allthough yesterday I unscrewed them so at this point I could just get them out by hand. Do not loose the bearings - they need to go back the exact same way for measurements. |
 |
| The crankshaft removed. You can notice that the drive plate is no longer attached to it. It was disconnected today but I forgot to take photos of it. It only goes back one way, so it's an easy deal. |
 |
| Engine block with lower main bearings still in place. |
 |
| And not to loose any bearings we reattached the main caps. This was REALLY tricky. No tolerance whatsoever. Hitting very carefully with a rubber head mallet did the trick. |
 |
| Went on to remove the camshaft. Conveniently a bolt can be screwed in to the end of the camshaft, and at least for me it was easy to slide it straight out. Be careful, especially if you intend to reuse the camshaft. |
 |
| Camshaft slowly coming out! :) |
 |
| Finally. An empty engine block! Just a few bearings and smaller core plugs in place, but the restoration shop will deal with that! |
 |
| Kind of surrealistic. I did this. It took me some hours, but I can finally look back and say I managed to get everything a part! Hopefully I'll get it together again! ;) |
Wow, a flurry of engine activity all at once! Glad to see some updates, and more progress made.
ReplyDeleteDynoDave